How to Prepare a Brief for a Commercial Architectural Rendering Project
Architectural Rendering
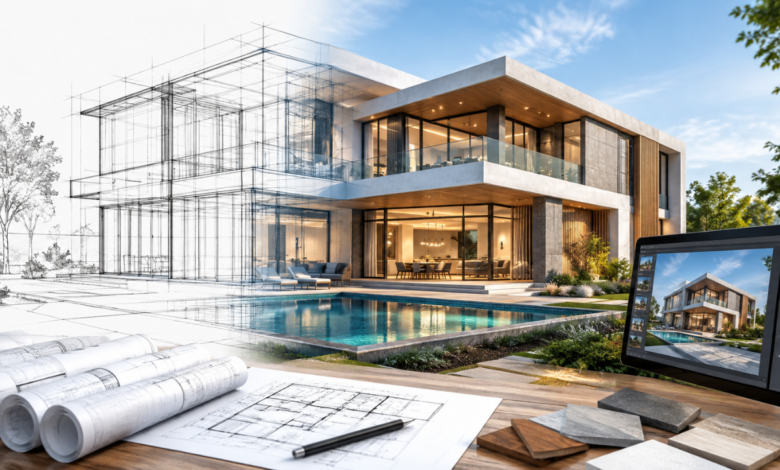
A commercial architectural rendering project brief is a document that tells a visualization team what a client needs and how the final imagery should look. A strong brief sets out the perspective, views, source files, and expected outputs, and it gives the whole project team a common understanding of the scope of work.
That team often includes the client, architect, developer, and marketing staff. When there is no brief, projects commonly run into misdirected effort, unreconciled changes, budget overruns, and missed deadlines. Preparing a brief early makes sure the design intent is captured within the rendering scope from the outset.
At McLine Studios, we have contributed to many design and construction projects. We have found that a well-scoped 3D rendering engagement helps design and construction teams coordinate their responsibilities and integrate the design into the build. This guide outlines what a commercial 3D visualization brief should cover and provides a checklist you can adapt for future projects.
What Is a Commercial Architectural Rendering Brief?
A rendering brief is the information a client hands to a visualization studio before production starts. It generally consists of the project scope and a description of the design intent, and it may also include:
- Preferred materials and finishes
- Site context
- Camera and lighting requirements
- The kind and number of people, vehicles, and landscaping elements
- Output format and size
- Deadlines and revision preferences
Why Commercial Projects Need a Thorough Brief
Commercial projects usually bring more stakeholders and more layers of approval than residential work, so a comprehensive brief is especially important. A detailed brief typically:
- Aligns architects, designers, and stakeholders on a single vision
- Reduces the need for revisions
- Clarifies scope and cost
- Shortens production timelines
- Produces a consistent look across every image
- Strengthens communication between design and visualization teams
With so many voices involved, the quality and completeness of the brief has a direct impact on how the project turns out.
10 Things to Include in a Commercial Rendering Brief
1. Project Overview and Building Type
Provide the project name, location, current stage, building type, and approximate size. The intended use of the building influences how it is designed and how it should be presented. A hotel and a retail center will be treated very differently, and so will a small hotel and a large one. Supplying this context early saves time and guides every later decision.
2. Goals and Intended Use of the Renderings
Tell the studio how the images will be used, such as:
- Investor presentations
- Planning or approval meetings
- Client presentations
- Leasing or pre-sale packages
- Marketing materials, brochures, websites, and social media
Intended use shapes composition, image size, and level of detail. Marketing collateral may need higher resolution than web graphics, and an image for a zoning board must be more precise than one for a leasing brochure.
3. CAD, BIM, and Other Design Files
Share the files that define the design, including AutoCAD, Revit, or SketchUp files, 3D models, floor plans, elevations, sections, site plans, and material boards. Because designs change repeatedly, indicate which files are the latest approved versions, and specify which discipline takes precedence when their information conflicts. Reliable source files are the basis of an accurate rendering.
4. Materials, Finishes, and Specifications
Describe the materials and finishes for the façade, flooring, walls, roof, glazing, metal, wood, stone, furniture, and fittings. Include material boards, product names, and finish codes when you have them. Clear specifications eliminate guesswork and help avoid texture inconsistencies during production.
5. Camera Angles and Views
List the views you need, for example:
- Street or hero view
- Aerial or drone view
- Entrance or corner view
- Interior and common-area views
- Site and parking views
- Views of the surrounding area
Reference photos, sketches, or diagrams showing camera positions make your expectations clear, cut down on revision requests, and keep production moving.
6. Site Context and Surroundings
Outline the built and natural environment around the project: neighboring buildings, roads, transportation, land use, topography, vegetation, and streetscape features. For commercial work, add setbacks and the width of the public right-of-way. Site-specific detail helps establish a sense of place and prevents the design from feeling generic.
7. Interior Design and Space-Specific Requirements
Address furniture, fixtures, finishes, decor, lighting, ceiling details, floor and wall treatments, branding, and expected occupancy. Explain which spaces carry the most visual weight; a hotel lobby, for instance, matters more than a staff corridor. Interior direction should also be consistent with the exterior design.
8. Lighting, Time of Day, and Mood
Indicate whether the scene should be set in daytime, at dusk, or at night, whether lighting is natural or artificial, the season, and the mood you want, such as vibrant, cozy, or formal. Light direction and timing can dramatically change how a scene is perceived. A street at midday looks very different from the same street at dusk with interior lights on, so this decision strongly influences how a photorealistic rendering expresses your vision.
9. People, Vehicles, Landscaping, and Other Details
Say whether you want people, vehicles, landscaping, signage, and similar elements, and whether the scene should be minimal or busy. The right amount of these details helps convey how the space will be used and its commercial potential.
10. Deliverables, Deadlines, and Revision Process
Define the technical and scheduling requirements:
- Resolution and aspect ratio
- File format (JPG, PNG, TIFF, or PDF)
- Print or digital use
- Number of final views
- Deadlines and key dates
- Number of revision rounds
- Delivery method
- Who gives final approval on each revision
Approvals with no clear end point are a leading cause of schedule delays, so identifying the final decision-maker early helps prevent last-minute surprises.
Rendering Brief Checklist: What to Send to the Studio
Before you submit a brief for architectural rendering or project visualization, use this checklist to confirm you have gathered the essentials.
| Item | Why It Matters |
| Project plans | Establish dimensions and layout |
| Elevations | Show the exterior features of the design |
| Sections | Show how design elements relate to one another |
| CAD/BIM files | Provide detailed design data and element relationships |
| Site plan | Shows the setting and context |
| Sample board | Defines materials and finishes |
| Furniture schedule | Lists furnishings and fittings |
| Landscape plan | Defines planting and outdoor surroundings |
| Reference images | Communicate the design intent |
| Brand standards | Guide branded elements and visual consistency |
| Camera distances | Set the framing and limits of each view |
| Output standards | Define technical delivery requirements |
Most projects will not have all twelve items at the briefing stage, and that is perfectly fine. The purpose of the briefing is to identify any gaps. The more you provide at the start, the fewer surprises you will face in production, and the smoother file review will be.
Exterior vs. Interior Rendering Briefs
Briefing an Exterior Rendering
Exterior briefs should cover sight lines, site conditions, and desired views. They should also describe adjacent site walls, planting, signage, paving, and neighboring built and unbuilt conditions. The time of day and sun angle greatly affect how a site is perceived. Creating street scenes early in a project can build momentum and help overcome initial hesitation about a design. Our 3D exterior rendering services are based on briefs like these.
Briefing an Interior Rendering
Interior briefs should address function, design elements, finish materials, lighting, branding, occupancy, camera positions, and how spaces connect. Understanding how a space will be used over time helps determine the best way to lay out and present it. Since interior and exterior requirements are so different, our 3D interior rendering team requests interior information separately.
When to Include CAD Rendering in Your Brief
CAD rendering generates still images from digital models of built environments. To do this, the studio needs technical plans, elevations, engineering drawings, or other 2D drawings from the client. Requests can come at any project stage and are common in early design, when a client needs visuals for potential sponsors or other stakeholders.
In these cases, the client should specify:
- The software used to produce the drawings
- The file format and drawing version
- Whether 2D drawings must be created from 3D models
- The level of detail required
- The views needed
CAD rendering is quick and efficient. We take the information you supply and produce marketing-ready images of the views you request.
Common Mistakes in Commercial Rendering Briefs
- Sending outdated drawings
- Failing to explain the purpose of the rendering
- Giving vague camera instructions
- Supplying inadequate material information
- Ignoring site conditions
- Leaving out performance requirements
- Being unclear about anticipated changes
- Treating exterior and interior needs as if they were the same
Most of these mistakes come from unclear requirements or missing information, and using a standardized brief format is an easy fix.
How a Well-Written Brief Improves the Rendering Workflow
Brief → File Review → Scope Confirmation → 3D Modeling and Scene Setup → Draft Rendering → Feedback → Revisions → Final Rendering
Each step depends on what was provided in the initial brief. Complete CAD files can make extra file review unnecessary, and clearly defined views and goals simplify scope confirmation. Feedback is where surprises tend to surface, particularly when the client has not finalized materials and lighting. In the end, the brief determines how smoothly the remaining steps unfold. Studios of every size follow a similar process, which lets clients form a realistic picture of timing at the start and at each stage through delivery.
Choosing the Right Commercial Architectural Rendering Partner
Look for a partner that offers:
- A solid architecture and AEC background
- Strong skills in both CAD and BIM
- Excellent written and verbal communication
- Clear revision and delivery procedures
- High-quality exterior and interior imagery within one integrated workflow
Your partner should also understand your commercial goals, including how images for leasing differ from those for a planning submission. That insight helps them ask the right questions during the briefing. McLine Studios works closely with architects and developers to help them meet their visualization objectives.
Conclusion
A strong commercial rendering brief rests on five core elements: a clear objective, accurate source documents, detailed material and design information, precise camera direction, and a defined end use and deadline. In our experience, providing these early helps us meet client expectations and deliver on time. McLine Studios can create commercial renderings directly from architects’ and developers’ drawings and documents. Contact us to explore our 3D architectural rendering services and get your next project started.